 To make this tag exactly as my tutorial, you will need the scrapset, a photo or other image, Paint Shop Pro (I use 9.01, but I’m sure it’ll work in most versions) and Eye Candy 4000.
Open and minimize your supplies. (You will need at least 2 papers, a doodle and a frame)
Install your plug-in if you don’t already have it. (You will need to close down PSP while you install, or it will not work. )
The scrapset I used for this tutorial is called Sweet Nothings, and is made by the talented Wanda at Bluedream Designs and you can find it here. It is FTU, but please do not share it, share the link to her blog instead!! Please read my and their TOU before you start.
The photo is my own. Font is 2Peas Tattered Lace, which is a pay font, so I cannot supply it for you.
Let’s begin!
Open a new image, 500x500 pixels, white background.
Maximise your first paper and drag it to your image.
(Simply grab the layer you want to copy with your cursor and drag the cursor onto the blank image.)
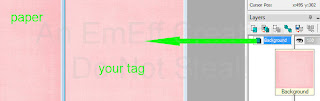
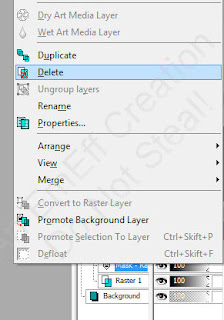
Apply a nice mask of your own choice. Then right click your mask layer and delete it. Click yes in the box that appears. Merge group.
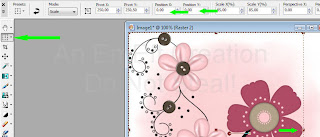
 Open your doodle and drag it onto your image (like you did with the paper).
With your raster deform tool, position the doodle along the left and upper edges of the image.
Then change the size of the doodle by increasing or decreasing the scale until the “handle”s of the doodle are close to the right and lower edges of the image.
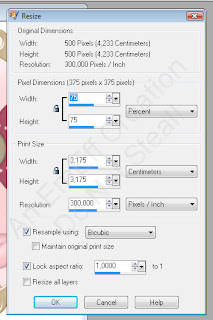
Open your frame, drag onto image, resize it to 75% with these settings
 Highlight the layer below your frame
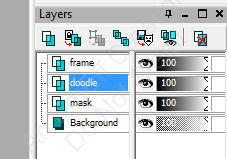
Choose a nice photo or another picture of your choice. I chose a photo of my daughter.
Drag the photo onto the image. It should now be inbetween the frame and the doodle.
Using the raster deform tool again, position and resize the photo to fit the frame.
Drag the photo onto the image. It should now be inbetween the frame and the doodle.
Using the raster deform tool again, position and resize the photo to fit the frame.
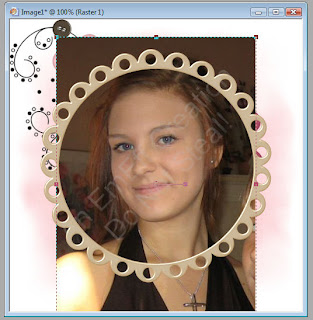
With your magic wand set to 0 tolerance, click inside the frame. Expand the selection by 5 pixels. Invert the selection, highlight the photo layer and hit delete. Deselect.
You should now have only the part of the photo that is within the frame
You should now have only the part of the photo that is within the frame

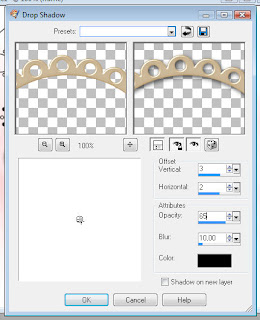
Give your frame a drop shadow
Merge your frame layer down into your photo layer.
Position the doodle and the photo layer as you would like them.
Open your bow and drag onto the image. Place it where you want it. You may need to resize it. If you want more accents, place them as you like.
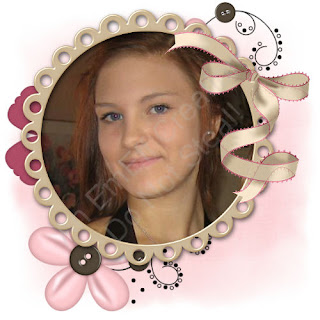
When you are satisfied with the placings of your layers, add a drop shadow to each layer – except for the mask layer! – I used the same drop shadow all over the tag.Your tag should now look something like this. (I chose to mirror my doodle and to resize my bow 75% twice
Position the doodle and the photo layer as you would like them.
Open your bow and drag onto the image. Place it where you want it. You may need to resize it. If you want more accents, place them as you like.
When you are satisfied with the placings of your layers, add a drop shadow to each layer – except for the mask layer! – I used the same drop shadow all over the tag.Your tag should now look something like this. (I chose to mirror my doodle and to resize my bow 75% twice
Now it’s time to put your name on the tag.
This is where the second scrap paper comes in use. Set your foreground colour to null, your background colour to pattern, choose the paper.
Now type the name you want on the tag. I used these settings.
This is where the second scrap paper comes in use. Set your foreground colour to null, your background colour to pattern, choose the paper.
Now type the name you want on the tag. I used these settings.

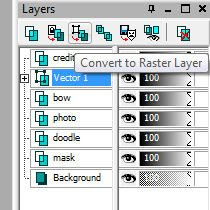
Convert to raster layer.
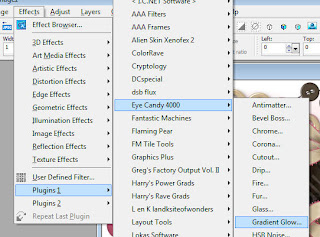
Go to effects-plugins-eye candy 4000-gradient glow
 Choose a colour from your tag for the gradient and apply these settings to your text
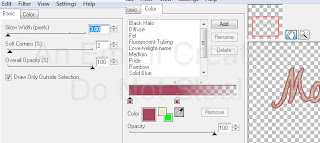 Position your name where you like it, give it the same drop shadow as before, and you’re done!
Save your tag as .jpg. Don’t forget to add proper credits for artists of images you may have used!I hope you liked my first tutorial!


No comments:
Post a Comment