
To make this tutorial look like my tag, you will need the scrapset, the tube, font and the photo, Paint Shop Pro (I use 9.01, but I’m sure it’ll work in most versions) and Eye Candy 4000.
Open and minimize your supplies. Install your plug-in if you don’t already have it. You will need to close down PSP while you install, or it will not work.
The scrapset I used for this tutorial is a FTU kit, made by Urban Fairytales and you can find it here. Please do not share the scrapset further, but instead share the link to UF, so that more people can enjoy their wonderful work! Please read my and their TOU before you start.
This tutorial is strictly a text tutorial, so you may need to go back and look at the finished tag now and then. I made this tag and wrote this tut on April 23rd, 2009. Any similarity to other tags and tuts are purely coincidental.
Let’s begin!
Open a new image, 500x500 pixels, white background.
Copy your photo and paste as new layer.
Highlight your background, select all.
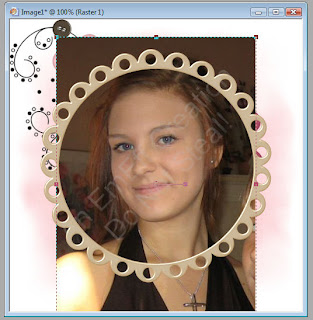
Contract selection by 125 pixels. Move the photo around until you have the part of it you want to use inside the selection, invert selection. Make sure your photo layer is highlighted and hit delete. De-select.
With your photo layer still active, select all-float selection-defloat. Add a new layer. Choose two colours for your frame, fill your colours with the first, contract selection by 5, fill with the other colour, contract by 2, fill again with the first colour, contract by 3. Delete. De-select. Now you have a frame.
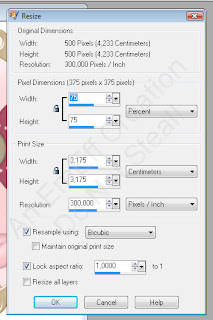
Open your tube of Jacob. Resize it by 21% smart size. Copy the tube and paste as new layer. Resize the tube again, this time by 40%. Place it where you want it on the tag.
Copy one of the wolf tubes and paste as new layer. Place it in between your photo and your Jacob-tube. Duplicate and merge the duplicated layer into the original layer.
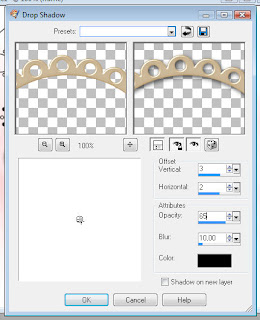
Close out your background layer and merge visible. Open your layers again. Add a drop shadow to the photo layer. I used V2-H2-opacity 60-blur 5-colour black.
Copy the map and paste as new layer. Move to just above your background.
Copy one of the text tubes. Place it above your map layer and position it where you like. Add a drop shadow of V1-H1-opacity 30-blur 5-colour black.
Copy the butterflies tube add as new layer. Resize it 25% and position it. Add the same shadow as the text layer.
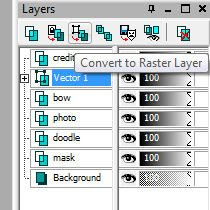
Time to add names. Open your font file -Almagro Regular - and minimize it. With your text tool set to vector, antialias to sharp and size to 20, type in the name Jacob Black. Convert to raster file. Rotate the layer 90 degrees left and position it.
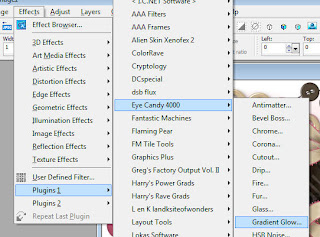
Go to Effects-Plugins-Eye Candy 4000-Gradient Glow. Pick a light colour and set it to width 5/corners 25/opacity 100. Place a second colour box above the dropper tool and set the transition dot there too.
Add a drop shadow of V2-H2-opacity 60-blur 5-colour black.
Do the same with your name, except for the rotation part. Add the same shadow as before.
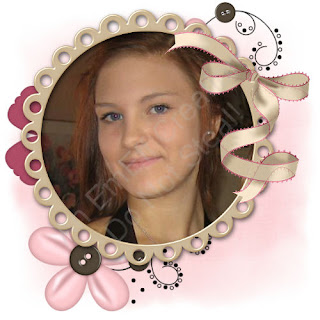
Add watermark and copyright info. Close out your background and crop using the merged opaque. Save as .jpg. Your tag is done!
I hope you enjoyed this tutorial.

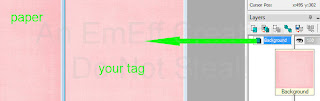
 Open your doodle and drag it onto your image (like you did with the paper).
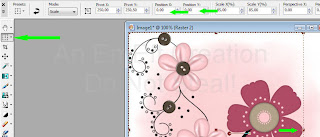
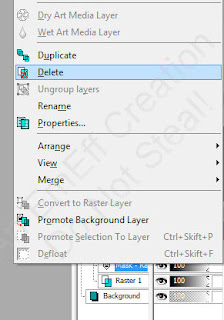
 Highlight the layer below your frame
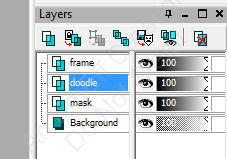


 Choose a colour from your tag for the gradient and apply these settings to your text
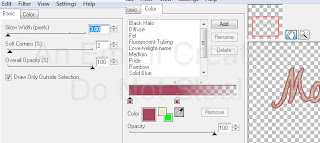 Position your name where you like it, give it the same drop shadow as before, and you’re done!

