This tag is made in Paint Shop Pro 9, but will probably work in any version.
It is my own idea, and any resemblance to other tuts is purely coincidental.
It is my own idea, and any resemblance to other tuts is purely coincidental.
To make this tag you need the scrap kit "because Of You" from Fanette Design here, a nice image and Eye Candy 4000 - Gradient Glow. I used a payfont called Old Glory, but you can use any font you like.
Please read my and their TOU before you start.
Please read my and their TOU before you start.
Open all your supplies and minimize.
Open a new image 700x500, white background.
Copy your frame to the tag as a new layer. Resize 70%, Smart size.
Copy your image to the tag as a new layer, arrange - move down.
I used my deformation tool to adjust the size of the image to the size of the frame.
Open a new image 700x500, white background.
Copy your frame to the tag as a new layer. Resize 70%, Smart size.
Copy your image to the tag as a new layer, arrange - move down.
I used my deformation tool to adjust the size of the image to the size of the frame.
If necessary, select the inside of your frame with your magic wand, expand the selection 5 pixels and add a new layer below the tube layer. Fill the selection with white (or any other color of your choice).
Merge down.
Add a drop shadow, I used V 2, H 2, Opacity 50, Blur 12 and Colour black.
Add a drop shadow, I used V 2, H 2, Opacity 50, Blur 12 and Colour black.
Set your rectangle tool to foreground null and background any of the papers of your choice. Draw out a large rectangle from about x5y130 to x640y400 (you see the coordinates of your marker in the right bottom corner of the screen). Convert to raster layer. Add drop shadow.
Now draw rectangles from top to bottom, using the same settings but change the background paper for each rectangle. Convert to raster layer after each reactangle, so that you end up with four rectange layers in the end. Add drop shadow to all layers.
Add your elements of choice, resize them to fit as you like and add drop shadows to them.
Add your copyright if needed.
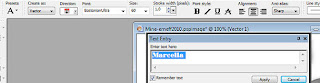
With your text tool, type your name.
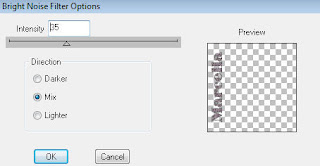
Convert to raster layer. Add a nice glow to your name with Eye andy 4000 - Gradient Glow.
Add your copyright if needed.
With your text tool, type your name.
Convert to raster layer. Add a nice glow to your name with Eye andy 4000 - Gradient Glow.
Rotate your text 90 degrees to the left and place it where you like. Add drop shadow.
Save as a .jpg file and you are done.
 This tag is made in Paint Shop Pro 9, but will probably work in any version.
 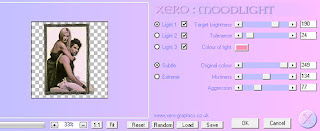 I picked my colour (#f88cb6) from the pink ribbon in my tag.