Friday, February 19, 2010

Soft Melodie

This tag is made in Paint Shop Pro 9, but will probably work in any version.
It is my own idea, and any resemblance to other tuts is purely coincidental.

To make this tag you need the scrap kit "because Of You" from Fanette Design here, a nice image and Eye Candy 4000 - Gradient Glow. I used a payfont called Old Glory, but you can use any font you like.
Please read my and their TOU before you start.

Open all your supplies and minimize.
Open a new image 700x500, white background.
Copy your frame to the tag as a new layer. Resize 70%, Smart size.
Copy your image to the tag as a new layer, arrange - move down.
I used my deformation tool to adjust the size of the image to the size of the frame.

If necessary, select the inside of your frame with your magic wand, expand the selection 5 pixels and add a new layer below the tube layer. Fill the selection with white (or any other color of your choice).
Merge down.
Add a drop shadow, I used V 2, H 2, Opacity 50, Blur 12 and Colour black.

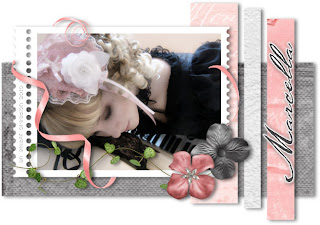
Set your rectangle tool to foreground null and background any of the papers of your choice. Draw out a large rectangle from about x5y130 to x640y400 (you see the coordinates of your marker in the right bottom corner of the screen). Convert to raster layer. Add drop shadow.

Now draw rectangles from top to bottom, using the same settings but change the background paper for each rectangle. Convert to raster layer after each reactangle, so that you end up with four rectange layers in the end. Add drop shadow to all layers.

Add your elements of choice, resize them to fit as you like and add drop shadows to them.
Add your copyright if needed.
With your text tool, type your name.
Convert to raster layer. Add a nice glow to your name with Eye andy 4000 - Gradient Glow.

Rotate your text 90 degrees to the left and place it where you like. Add drop shadow.
Save as a .jpg file and you are done.
Wednesday, February 17, 2010

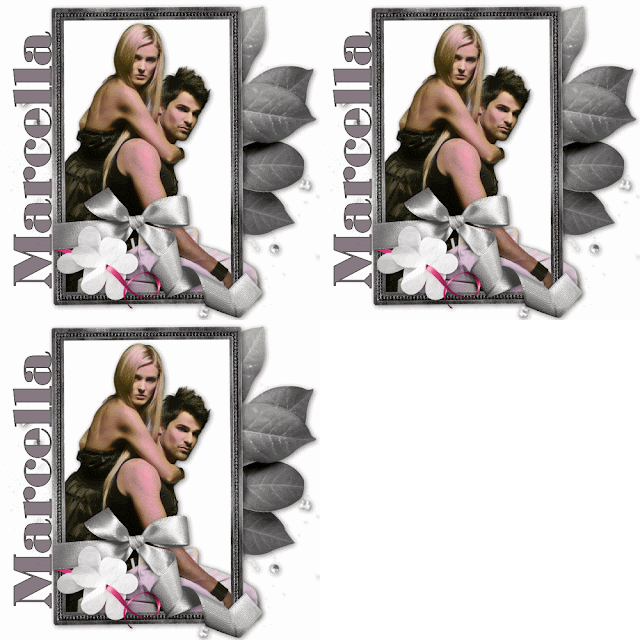
Mine

This tag is made in Paint Shop Pro 9, but will probably work in any version.
It is my own idea, and any resemblance to other tuts is purely coincidental. To make this tag you need the scrap kit "Lust" from Bel Vidotti here, Xero Moodlight and a nice tube. If you choose to animate the tag, you will also need DSB Flux - Bright Noise. I used the font Bostonian Ultra, but you can use any font you like.
Please read my and their TOU before you start.
Open all your supplies and minimize.
Open a new image 500x500, white background.
Copy your frame to the tag as a new layer.
Copy your tube to the tag as a new layer, arrange - move down.
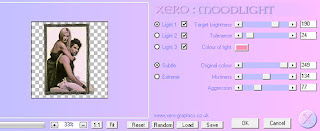
Apply Xero Moodlight to your tube.
I picked my colour (#f88cb6) from the pink ribbon in my tag.
If necessary, select the inside of your frame with your magic wand, expand the selection 5 pixels and add a new layer below the tube layer. Fill the selection with white (or any other color of your choice).
Add a drop shadow to your tube, I used V 2, H 2, Opacity 50, Blur 12 and Colour black. Hide your background layer and merge the three layers. Add a drop shadow.

Add your elements of choice and add drop shadows to them.
Add your copyright if needed.

With your text tool, type your name.


Convert to raster layer. Selections - select all - float - defloat, contract selection by 2 pixels. Add Xero Moodlight with the same settings as for the tube. Deselect.
Rotate your text 90 degrees to the left and place it where you like. I didn't add any drop shadow to my name, but you can do that if you want to.

If you don't wish to animate, just save it now as a.jpg file and you are done.
For animating, choose your selection tool. Set the selection mode to "Add". Draw a rectangle around the dots in the frame.
Now set the selection mode to "Remove" (or simply hold down ctrl while drawing the selection) and draw a selection on the inside of the dots part.
You should now have a selection with only the part of the frame with the dots in it.
Do not deselect!

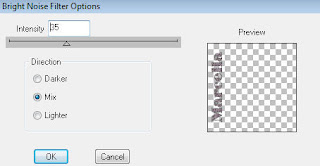
Add a sparkling effect with DSB Flux. Click on "mix" once.
Deselect. Edit - copy merged.
Now open your Animation Shop. Paste as new image.
Go back to your PSP and undo the deselection and dsb, redo the DSB but this time click the mix twice. Deselct again and copy merged. In AS, right-click and paste after current frame.
Repeat this procedure once again, this time clicking three times on the mix.

Preview your animation in AS with the View Animation button. File - Save as "whatever you want to call your tag" (I assume you have proper settings for a .gif-file) and you're done!

Saturday, July 11, 2009

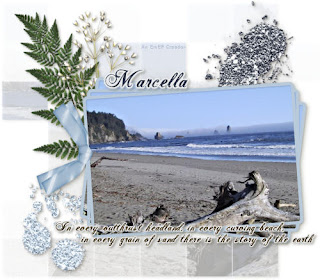
The Story of The Earth

To make this tag exactly as my tutorial, you will need the scrapset, a photo or other image, Paint Shop Pro (I use 9.01, but I’m sure it’ll work in most versions) and Eye Candy 4000.
Open and minimize your supplies. Install your plug-in if you don’t already have it. You will need to close down PSP while you install, or it will not work.
The scrapset I used for this tutorial is made by Tanya and you can find it here. The font is called Radagund and you can find it here. The mask is by Vix and can be fond here.
Please read my TOU before you begin.

Open your supplies and minimize them. Open a new blank image, 50ox500 pixels size, white background.
Copy your photo and paste as new layer on your tag. Edit it to fit the whole tag.
Apply the mask VixMask294. Merge group.
With your raster deform tool, set the position X and Y to 0, then grab the lower right corner of the raster and drag the mask out to stretch over the whole tag.

Minimize the tag.
Open your photo and the frame. Copy the frame onto the photo as a new layer. Now adjust the photo to the frame, using the raster deform tool again.
When you have the photo framed to your liking, merge visible and copy.

Open your tag again and paste the framed photo as a new layer. Resize and position as you like.

Now add your embellishments and place them where you like them.
You may have to resize or tilt them before you are satisfied.

Now with your text tool, type out a nice saying, using the font Radagund in size 16 pixels. Convert to raster layer.
Add a nice gradient to the text using Eye Candy 4000 – Gradient glow.
Do the same with your name, only change the size to 36 pixels. Again add a gradient.

Now, starting from the layer just above your mask layer and working your way up, add a nice drop shadow to all the layers.

Add proper credits and your watermark/signature, and save as .jpg. Done!